Dealing with a broken spark plug requires immediate attention to prevent further damage to your engine. In situations where an easy out tool isn’t available, knowing how to remove the broken spark plug becomes essential.
This guide will walk you through the step-by-step process of safely extracting a broken spark plug without the use of an easy out tool. We will ensure you can address the issue effectively and restore your engine’s performance.
Related Post-OEM Spark Plugs vs NGK Spark Plugs: A Comparison
Key Takeaways
- Assessment and Preparation: Carefully assess the condition of the broken spark plug and gather necessary tools before starting the removal process.
- Precautions and Safety Measures: Prioritize safety by wearing protective gear and ensuring the engine is cool before attempting removal.
- Step-by-Step Removal Process: Clear debris, apply penetrating oil, use locking pliers to grip and turn the broken plug counterclockwise, and repeat as needed until fully extracted.
- Alternative Methods: Consider alternative approaches like welding a nut or drilling into the broken plug if traditional methods are unsuccessful.
- Post-Removal Inspection and Clean-Up: Thoroughly inspect and clean the area, then install a new spark plug to ensure proper engine functionality.
- Professional Assistance: Seek professional help if DIY methods are unsuccessful or if you’re uncomfortable attempting the removal yourself.

Assessment and Preparation
Before initiating the removal process, carefully assess the condition of the broken spark plug. Look for any visible signs of damage, such as cracked porcelain or a severely bent electrode. This initial assessment will help determine the appropriate approach for removal and minimize the risk of causing further damage to the engine.
Next, gather all necessary tools and materials for the removal procedure. This typically includes:
- Locking pliers or vice grips
- Penetrating oil or lubricant
- Safety goggles and gloves to protect against debris
- Rags or towels for cleanup
Having these tools readily available will streamline the removal process and ensure you can address the issue promptly and effectively.
Precautions and Safety Measures
Taking necessary precautions and implementing safety measures is paramount when dealing with a broken spark plug. Here’s what you need to do:
- Safety Equipment: Wear safety goggles to shield your eyes from any debris that may dislodge during the removal process. Additionally, wearing gloves will protect your hands from sharp edges or hot surfaces.
- Cool Engine: Ensure the engine is completely cool before attempting to remove the broken spark plug. This prevents the risk of burns and ensures safer working conditions.
- Workspace Preparation: Clear the workspace around the broken spark plug to create a clean and organized environment for the removal process. Remove any loose debris or obstructions that may interfere with the procedure.
Step-by-Step Removal Process
Here’s a detailed breakdown of the removal process for a broken spark plug without using an easy out tool:
- Clear Debris: Begin by clearing any debris or dirt around the broken spark plug. Use a brush or compressed air to ensure the area is clean to prevent contamination during the removal process.
- Apply Penetrating Oil: Liberally apply penetrating oil or lubricant to the threads of the broken spark plug. Allow the oil to penetrate and loosen any corrosion or rust that may be binding the plug to the cylinder head.
- Use Locking Pliers: Grip the exposed portion of the broken spark plug’s insulator with locking pliers or vice grips. Ensure a firm grip to prevent slippage during removal.
- Turn Counterclockwise: With steady pressure, begin to turn the locking pliers counterclockwise to loosen the broken spark plug. Take care to maintain consistent pressure to avoid stripping the threads or breaking the plug further.
- Repeat as Necessary: If the broken spark plug does not initially loosen, reapply penetrating oil and continue turning with the locking pliers. Repeat this process as needed until the broken spark plug is fully extracted from the cylinder head.
Alternative Methods
If the traditional method outlined in Section IV proves ineffective, consider these alternative approaches for removing a broken spark plug:
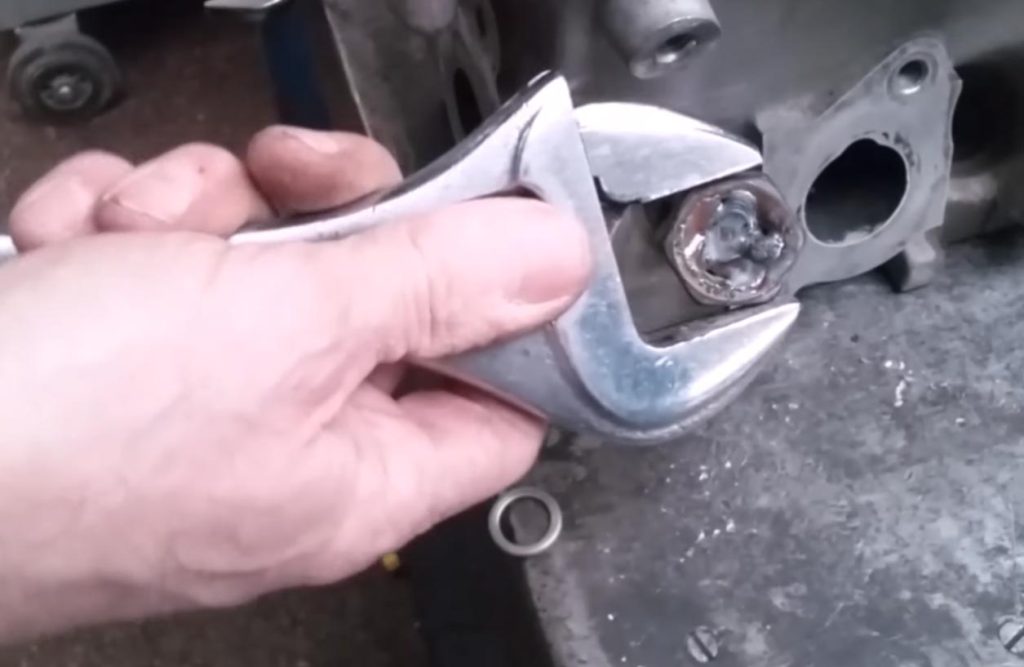
- Welding a Nut: Welding a nut onto the exposed portion of the broken spark plug can provide a sturdy grip for removal. Once the nut is securely welded, use a wrench to turn the broken plug counterclockwise.
- Drilling Method: Use a drill with a carbide or diamond-coated drill bit to carefully drill into the broken spark plug. Start with a small pilot hole and gradually increase the size until you can insert an easy out tool or extractor to remove the plug.
- Professional Assistance: If DIY methods are unsuccessful or if you’re uncomfortable attempting the removal yourself, seek assistance from a professional mechanic or automotive technician. They have specialized tools and expertise to safely extract the broken spark plug without causing further damage to the engine.
Before attempting any alternative method, carefully assess the situation and consider factors such as your level of experience, access to tools, and the severity of the breakage. If unsure, it’s always best to seek professional assistance to avoid exacerbating the problem.
Post-Removal Inspection and Clean-Up
Once the broken spark plug has been successfully removed, it’s important to conduct a thorough inspection and clean-up process to ensure the engine’s continued functionality. Here’s what you need to do:
- Inspect Spark Plug Threads: Carefully examine the threads in the cylinder head where the broken spark plug was seated. Look for any signs of damage, such as stripped or damaged threads. If damage is detected, it may be necessary to repair or rethread the cylinder head to ensure proper seating of the new spark plug.
- Inspect Cylinder Head: Check the surface of the cylinder head surrounding the spark plug hole for any signs of damage or debris. Use a clean rag or compressed air to remove any remaining residue or debris from the area.
- Clean the Area: Thoroughly clean the area around the spark plug hole to remove any remaining penetrating oil, debris, or contaminants. This will help ensure a clean and secure seal when installing the new spark plug.
- Install New Spark Plug: Once the area is clean and free of debris, install a new spark plug using the manufacturer’s recommended torque specifications. Take care to properly seat the spark plug and avoid cross-threading to prevent future issues.
- Final Inspection: After installing the new spark plug, conduct a final inspection of the area to ensure everything is properly seated and secured. Start the engine and listen for any unusual noises or vibrations that may indicate a problem.
Conclusion
Successfully removing a broken spark plug without an easy out tool requires careful planning, patience, and adherence to safety protocols. By following the step-by-step process outlined in this guide, you can effectively address the issue and restore your engine’s functionality. Remember to assess the severity of the breakage, gather necessary tools, and prioritize safety precautions before initiating the removal process.
If the traditional removal method proves ineffective, consider alternative approaches such as welding a nut or drilling into the broken plug. However, exercise caution and consider seeking professional assistance if you’re unsure or uncomfortable attempting the removal yourself.
After successfully removing the broken spark plug, conduct a thorough inspection and clean-up of the area. This will ensure proper seating of the new spark plug and continued engine performance. If any concerns or issues arise during the process, don’t hesitate to consult with a professional mechanic or automotive technician for assistance.
